Docs
Getting started
Whether you are monitoring emails sent by your own website, or monitoring emails sent by your backup program, setting up monitoring in notimon is quick and easy.
1. Sign up.
Signing up usually takes 1 minute including confirming your email address.
Enjoy a 1 month free trial.
Look for an email with the subject [notimon.com] Please Confirm Your
E-mail Address
2. Login
Login with your email address and the password you just created.
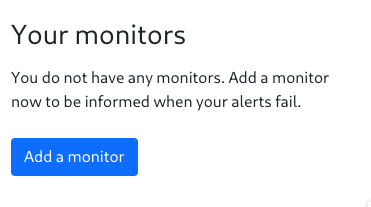
3. Create a monitor
Once you sign up, you will automatically have a mailbox, but you will not be monitoring it yet. You need to set up a monitor.
After clicking on Add a monitor you need to select the mailbox to monitor, and time threshold for the monitor.
Select the mailbox that was created automatically.
The threshold should be the longest period you expect without receiving one of the periodic emails you want to monitor. For example, if you expect the emails daily, a good threshold is often 1 day and 1 hour.
That extra 1 hour just allows for a short delay in the email delivery so that you don't get a false positive just because the email was a few minutes late.
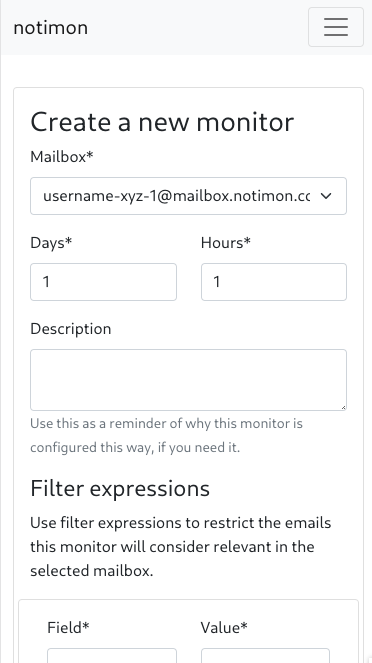
You can optionally create filter expressions for the monitor on this page. This is helpful e.g. if you want the monitor to only consider specific emails relevant to this monitor.
For example, you can filter for only emails where the subject
contains the text backed up successfully. Such a monitor would
alert you if no such email was received within the configured threshold.
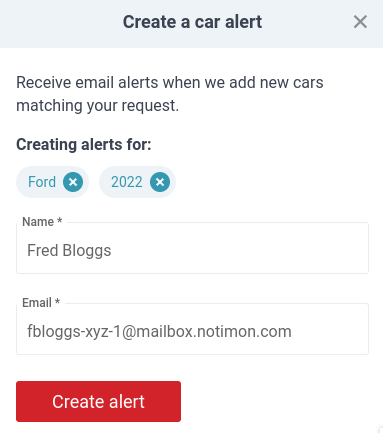
4. Subscribe your mailbox to the emails you want to monitor
You now need to ensure that your notimon mailbox will receive the emails that you would like to monitor.
View your mailbox and copy its address, then subscribe it to the relevant emails.
For example, if you are monitoring backup notifications for backup software like Veeam or Veritas, add your notimon mailbox address to the list of email recipients notified of successful backups.
If you are monitoring your own web service notifications, subscribe your notimon address as any other user would subscrive to your notifications. That might mean you need to create a test user in your service for your notimon address or add this address to an existing user. You can view emails sent to your notimon address in that mailbox. This can be useful to confirm the test user email address, and/or to confirm that emails are delivered to your notimon mailbox as expected.
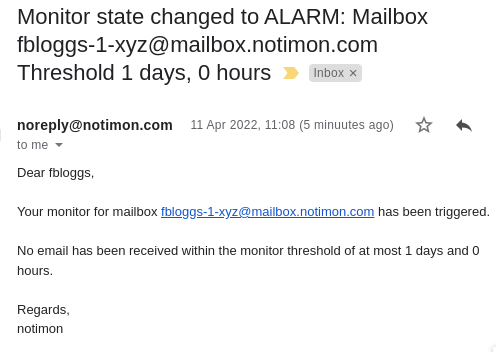
5. View your monitor status and get notified of trouble
Monitors are checked once every hour. That means within an hour, your monitor will be checked. If your mailbox has not received matching mail, it will then immediately be in the ALARM state until matching mail is received. At that point it will change to the OK state.
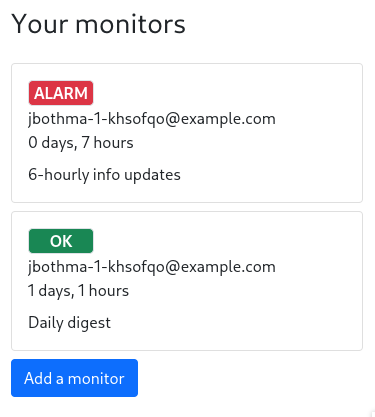
You will be sent email notifications each time the monitor state changes. That way, you can tell that the system is working.